

Table of Contents
Google SecOps has many options and support capabilities to assist your organization in creating and managing features and functionality.
Actions

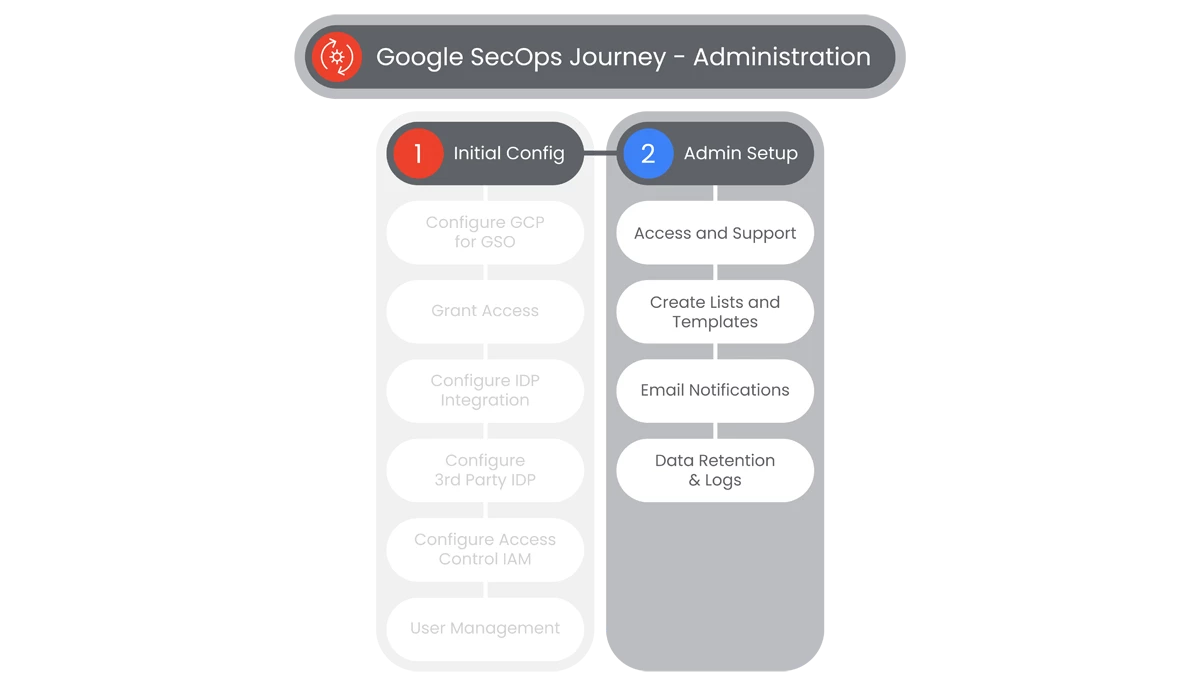
Access and Support
At times, the only way to troubleshoot problems on the customer's platform is to allow Google Support to create a user to access your instance.
- To begin users will select Settings in the left-side Navigation Bar and then select SOAR Settings, that will display the Settings page.
- In the Settings page, users will select Advanced, that will display a drop-down list. Users will select Support Access.
- On the Support Access page, that will provide access to Google Support.
- Users will be able to select to Allow Access to Google Support, after selecting the mandatory fields below.

- Additional mandatory fields consist of:
- Select SOC Role
- Select Permission Group
- Select Environments
- Select Time Period
- Select Save.
- As soon as Google Support registers a new user, they will appear below.
Relevant Documentation Links
- [All Steps] https://cloud.google.com/chronicle/docs/soar/admin-tasks/permissions/allow-google-support-access

Create Lists and Templates
Your organization can create a blocklist of items. These are composed of entities that the system does not group alerts by or entities which should not be displayed in the system.
Steps
- To add a new blocklist item users will navigate to SOAR Settings > Environments > Blocklist.
- Click Add on the top right of the screen.
- Enter Entity Identifier and select Entity Type, Action, and the Environment.
- Click Add.

Relevant Documentation Links

Email Notifications
Your organization can set up an email box in Google SecOps to send emails to users. When you select the Google SecOps SMTP configuration (default), the platform email service sends your emails. You have the option to select the Customer Configuration and your email service will send out the emails.
Steps
- To begin users will select Settings in the left-side Navigation Bar and then select SOAR Settings, that will display the Settings page.
- In the Settings page, users will select Advanced, that will display a drop-down list. Users will select Email Settings.
- On the Email Settings page, users by default will see Google SecOps SMTP selected.
- If users prefer to use a separate option, they will select Customer Configuration, to manually setup their email address, from which all system emails will be sent. Those selection options consist of:
- Sender Display Name
- Sender Email Address
- Username
- Password
- SMTP - Server Address
- SMTP - Port
- SMTP - Use SSL
- Require Authentication
- Trust Certificate
- Use Exchange OAuth
- When those sections are filled in, users can test the configuration.
-
When complete, users will select Save.
Relevant Documentation Links

Data Retention & Logs
Google Cloud services write audit logs that record administrative activities and accesses within your Google Cloud resources. Audit logs help you answer "who did what, where, and when?" within your Google Cloud resources with the same level of transparency as in on-premises environments.
Prerequisites
- To view audit logs, you must have the appropriate Identity and Access Management (IAM) permissions and roles.
Steps
- By default, Google retains Twelve Months of user data in the user’s Google SecOps account. This retention period can be extended as part of the Purchase Order. The retention period applies to all of the data in the user’s Google SecOps instance.
- Google uses an automated system to remove historical data based on event and detection timestamps.
- Enabling audit logs helps users with security, auditing, and compliance entities that monitor Google Cloud data and systems for possible Vulnerabilities or external data misuse.
- Cloud Audit Logs provides the following audit logs for each Google Cloud project, folder, and organization:
- Admin Activity Audit Logs
- Data Access Audit Logs
- System Event Audit Logs
- Policy Denied Audit Logs
- Audit log entries include the following objects:
- Log entry itself, which is an object of type LogEntry. Useful fields include the following:
- logName contains the Resource ID and Audit Log Type.
- resource contains the target of the audited operation.
- timeStamp contains the time of the audited operation.
- protoPayload contains the audited information.
- Log entry itself, which is an object of type LogEntry. Useful fields include the following:
- To enable audit logging for the chronicle.googleapis.com service, see Enable Data Access audit logs.
- To enable audit logging for other services, contact Google SecOps Support.
- To populate UDM Search and Raw Log Search Queries in the Google SecOps Audit Logs, update the Data Access Audit Logs configuration with the necessary permissions.
- In the navigation panel of the Google Cloud Console, select IAM & Admin > Audit Logs.
- Select an existing Google Cloud Project, Folder, or Organization.
- In Data Access Audit Logs Configuration, select Chronicle API.
- In the Permission Types tab, select all the listed permissions:
- Admin Read
- Data Read
- Data Write
- Click Save.
- Repeat steps 11 - 13 for Chronicle Service Manager API.
- To find and view audit logs, use the Google Cloud project ID.
- In the Google Cloud Console, use the Logs Explorer to retrieve your audit log entries for the Google Cloud project.
- In the Google Cloud Console, go to the Logging > Logs Explorer page.

- Note: If users are using the Legacy Logs Viewer page, switch to the Logs Explorer page.
- On the Logs Explorer page, select an existing Google Cloud Project, Folder, or Organization.
- In the Query Builder pane, do the following:
- In Resource Type, select the Google Cloud resource whose audit logs you want to see.
- In Log Name, select the audit log type that you want to see:
- For Admin Activity audit logs, select Activity.
- For Data Access audit logs, select Data_access.
- If you don't see these options, no audit logs of that type are available in the Google Cloud Project, Folder, or Organization.
Relevant Documentation Links
- [All Steps] https://cloud.google.com/chronicle/docs/administration/audit-logging
- [Additional Steps] https://cloud.google.com/logging/docs/audit
Next Step: Security Operations: Step 2 - Ingestion
Previous Step: Security Operations: Step 1.1 - Administration | Initial Config