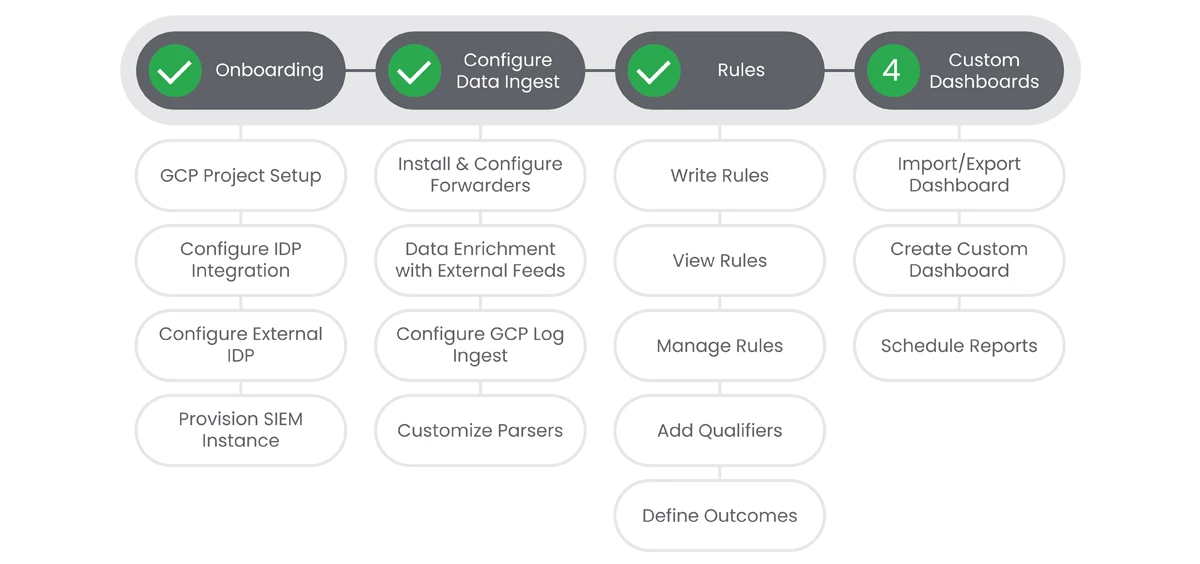
Table of Contents
Below you'll find a table of contents for the Custom Dashboards journey.

Custom dashboard allow SecOps teams and team members to prioritize the informational views and data they see. This allows organizations, teams, and individuals to customize their interaction with SecOps to their role. Custom dashboards are not a requirement for product use, but greatly enhance the user experience. Dashboards should be tailored to the role of the user, and modified as workflows change.
Prerequisites
- Entitlement for SecOps SIEM on the account and project.
Actions
Create Custom Dashboard
Custom Dashboards are a great way to provide specific insights into the data. You add tiles to the dashboard that display the visualizations, text, or buttons necessary for the context in which you are monitoring or responding to.
Prerequisites
See the Relevant Links section for more documentation regarding the prerequisites.
- Administrative Access to SecOps SIEM
Steps
-
In the Chronicle UI, click Dashboards.
-
Under Personal Dashboards or Shared Dashboards, click Add > Create New.
-
Click Edit Dashboard, then give it a name.
-
Add a tile (or multiple tiles) to the dashboard. | Docs
-
Create a new blank tile
-
Duplicate an existing tile
-
Edit an existing tile
-
-
Click Save.
Relevant Links

Schedule Reports
Having a report scheduled to run at a specific time can be a great way to keep up with the data that is important to you and your organization.
Prerequisites
See the Relevant Links section for more documentation regarding the prerequisites.
- Administrative access or editor rights inside of SecOps are necessary to schedule reports.
Steps
-
In the Chronicle UI, click Dashboards & Reports > SIEM Dashboards.
-
Note: If you're just a SIEM customer, just click Dashboards.
-
-
From the list of default and personal dashboards, select the dashboard for which you want to schedule report delivery.
-
Click the 3 vertical ellipses from the top right of the page and select Schedule Delivery.
-
In the Schedule Delivery dialog, fill out the following details in the Settings tab:
-
Name
-
Recurrence Day/Data and Time
-
Email addresses for recipients (comma seppparated)
-
In the Format list, select the CSV, PDF, or PNG file to format for the report.
-
-
On the Filters tab, specify the time period for the report
-
Click the Time field and select the filter conditions
-
Add more time filters by clicking the Add icon
-
-
On the Advanced options tab, select the paginate options for the email"
-
Click Save
Relevant Links
Next Steps: Security Operations SOAR - Journey Overview
Previous Step: Security Operations SIEM: Step 3 - Rules


