

Table of Contents
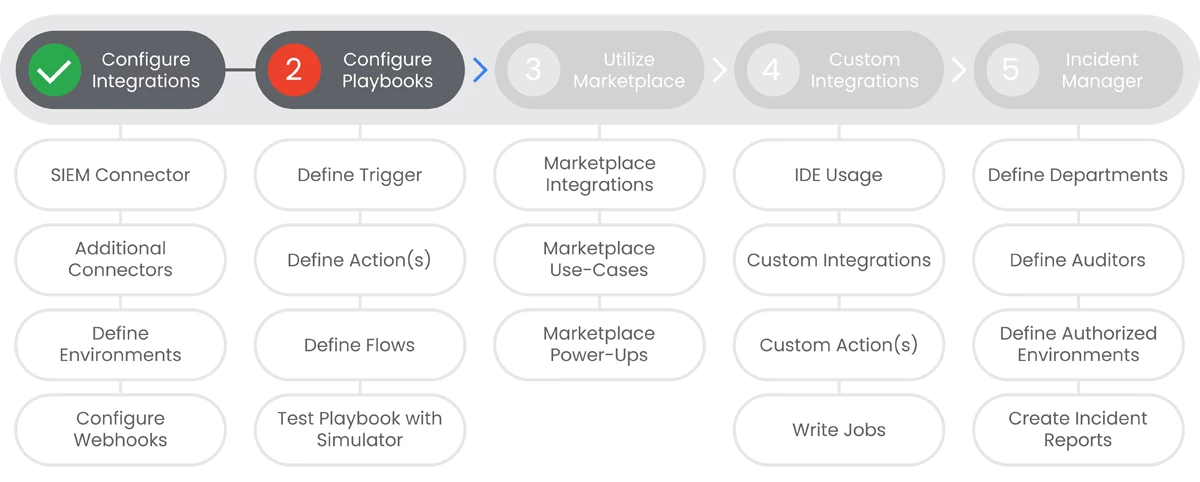
Below you'll find a table of contents for the Configure Playbooks journey.
SecOps SOAR playbooks are the foundation of automation and orchestration of security process. Playbooks are used to define triggering conditions, such as events, or event combinations, and the automated actions to take in response to those triggers. SOAR playbooks do not eliminate the need for SecOps teams. Instead they augment the teams by providing rapid automated action, and offloading repetitive tasks. Overall this provides faster security response while freeing analysts to focus on more pressing or complex tasks.
Prerequisites
- Entitlement for SecOps SOAR on the account and project
- Administrative permissions to Chronicle SOAR
- Administrative Access for any 3rd party applications that will be integrated with Chronicle SOAR via the Marketplace
Actions


Define Actions
Actions are the next set of components that you can define for a playbook. Each action is categorized under an Integration in the system. They include tasks or actions to be performed by the playbook.
Prerequisites
See the Relevant Links section for more documentation regarding the prerequisites.
- Proper permissions to configure a playbook
- Integrations downloaded and configured from the Chronicle Marketplace
Steps
-
In the Playbooks screen, click Open Step Selection.
-
Search for and select the Action you wish to add and drag it into the Playbook at the appropriate interval between other steps.
-
Double-click on the Action item.
-
Fill out the required fields.
-
Choose the Instance to use for this Playbook. Specify the instances the action will run on. | Docs
-
Click Save.
Relevant Links
- Prerequisites: https://cloud.google.com/chronicle/docs/soar/respond/working-with-playbooks/playbook-permissions
- All Steps: https://cloud.google.com/chronicle/docs/soar/respond/working-with-playbooks/using-actions-in-playbooks#adding-an-action
- 5: https://cloud.google.com/chronicle/docs/soar/respond/integrations-setup/supporting-multiple-instances

Define Flows
The Flow component determines the next steps of a playbook by forcing the flow into decisions. This is executed by utilizing a branching system.
Steps
-
In the Playbooks screen, click Open Step Selection.
-
Select the Flow section.
-
Drag-and-Drop the Condition into the step or between two actions.
-
Double-click on the Condition.
-
Select the required Entities.
-
Decide how many branches you want to create.
-
Note: Each branch has an
OR
between them.
-
-
Select the parameter(s) for each branch.
-
Define a "fallback branch" to avoid a failed condition.
-
Click Save.
Relevant Links

Test Playbook with Simulator
The Playbook simulator provides you with a revolutionary way to develop Playbooks in less time and with less effort. Allowing you to work in a pre-production environment where you can test your actions and play with the results without affecting production.
Prerequisites
See the Relevant Links section for more documentation regarding the prerequisites.
- Access to Playbooks
- Existing Cases for simulation
Steps
-
In the Chronicle UI, choose the Playbooks tab.
-
Click on a Playbook to open it in the editor.
-
Turn on the Simulator Switch in the top right.
-
You'll notice in the top center that there is a green notification that appears when the simulator is on.
-
Additionally, there is a content window at the bottom which allows you to run the simulation against an existing case.
-
-
Select an existing case and walk through your playbook to see how it would react to that case.
-
The simulator will allow you to take a case and see exactly what would have happened for the playbook in question when that case occurred. This allows you to account for additional scenarios in your playbooks for future cases by testing in a pre-production environment.
Relevant Links