



Table of Contents
Actions

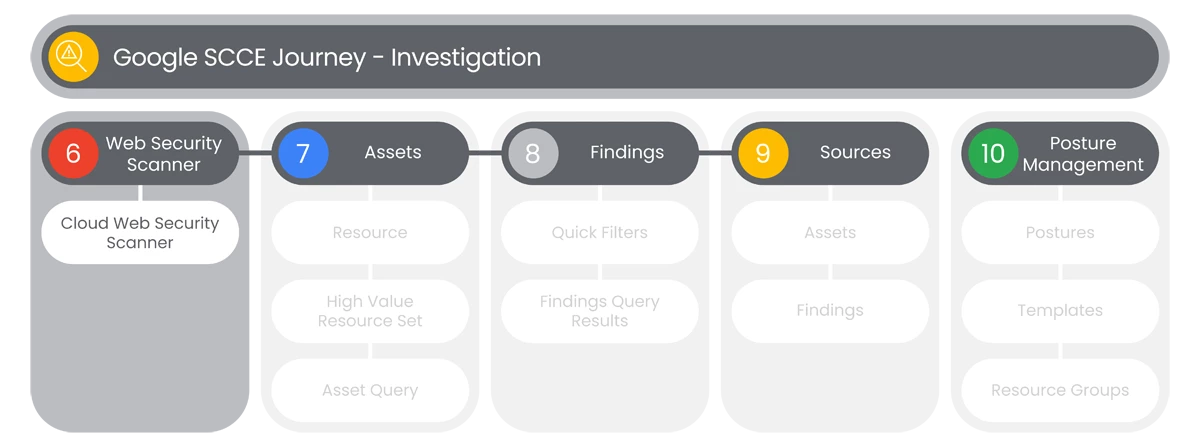
Cloud Web Security Scanner
Web Security Scanner identifies security vulnerabilities in your App Engine, Google Kubernetes Engine (GKE), and Compute Engine web applications. It crawls your application, following all links within the scope of your starting URLs, and attempts to exercise as many user inputs and event handlers as possible.
- To start, users will need to enable Web Security Scanner in the Security Command Center to create and run custom scans.
- Users will go to any dashboard in the left-side panel under Security Command Center in Google Cloud Console. Then select the Settings button
 at the top-right corner of the screen. Users will see be brought to the Settings page.
- Users will select the Web Security Scanner selection under the Services tab, by clicking the Manage Settings link.

- Users will only see a Service Enablement page, to enable or disable Web Security Scanner. Note: Settings inherit from the parent resource unless overridden on the child resource.
- At the top of the Service Enablement list, users will see the Search For a Folder or Project button link, if they need to search for particular Folder or Project.
- The Service Enablement list of Folder or Projects will display the following columns:
- Name
- Resource ID
- Web Security Scanner
- When users see the Folder or Project they choose to enable, they will go to the Web Security Scanner column and select to enable the Folder or Project.
- To access the Web Security Scanner feature, users will go to the left-side panel of the Google Cloud Console, and select Web Security Scanner under the Detections and Controls section.
- When selected, users will see a feature titled Cloud Web Security Scanner. If this is the first time accessing it, users may see displayed instructions to Enable the Web Security Scanner API. Select Enable API, which could take a minute to Enable.
- Once Enabled, users will see the Create a New Scan button in the middle of the dashboard.

- Users will see the Create a New Scan page, with the following input fields:
- Name
- Starting URLs
- Excluded URLs
- Export Options
- In the Starting URLs field, users can list one or more apps they wish to scan hosted on App Engine Standard or Flexible, Compute Engine or GKE environments. When the field is entered, users can choose to add more URLs by selecting the Add a URL button.

- In the Excluded URLs field, users can list one or more apps they wish to exclude from scanning. Users can Add a URL to Exclude list, by selecting the Add a URL button.

- In the Excluded URLs section is a Authentication field with the following options:
- None
- Google Account
- Non-Google Account
- Identity-Aware Proxy
- Below the Authentication field in the Excluded URLs section, is the Schedule field, with the following options:
- Daily
- Weekly
- Every 2 Weeks
- Every 4 Weeks
- Never
- Below the Schedule field in the Excluded URLs section, is a Run Scans section, that allows users to run scans from a pre-defined set of IP addresses, that users can select by checking the box.
- In the Export Options section, users can also Export scan configurations and scan results to the Security Command Center after scans are complete.
- Also, in the Export Options section, users can enter selections for the following:
- User Agent
- Maximum Scan Speed
- Risk Level
- Ignore HTTP Status Errors
- When all field are complete, users will select Save at the bottom of the page.
Relevant Documentation Links
- [All Steps] https://cloud.google.com/security-command-center/docs/concepts-web-security-scanner-overview
Next Step: Security Command Center Enterprise: Step 3.2 - Investigation | Assets
Previous Step: Security Command Center Enterprise: Step 3 - Investigation Overview
